Is It Easy to Change a Double Drain Sink to a Single Drain Kitchen Sink
This post and photos may contain Amazon or other affiliate links. If you purchase something through any link, I may receive a small commission at no extra charge to you. Any supplies used may be given to me free of charge, however, all projects and opinions are my own.
This is our new gorgeous sink. But it wasn't always this pretty. Today I'm highlighting how we changed out the sink from a stainless steel double sink to a single basin sink.
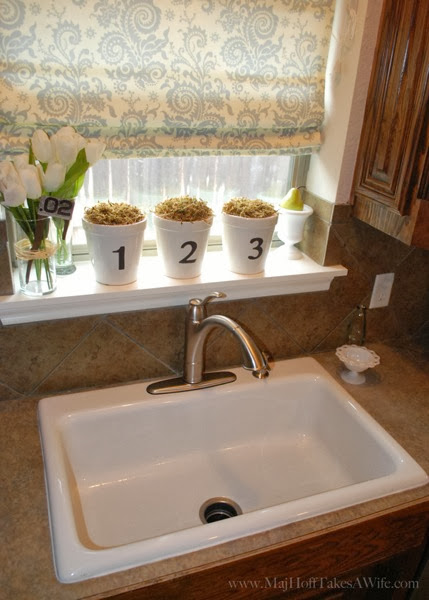
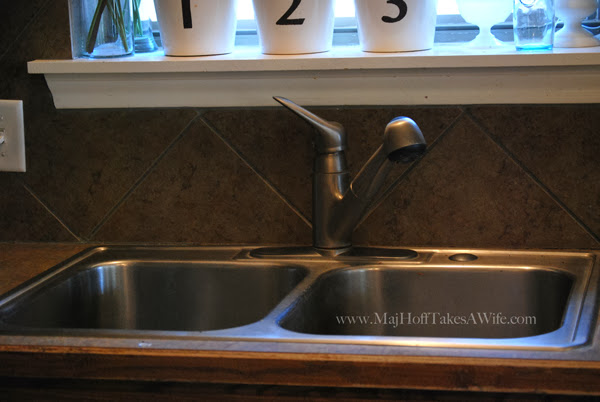
This is our old, ugly, builder grade, nemesis- I mean sink. I have nothing against a stainless steel double basin sink. It did it's duty. But the farmhouse look of the white just makes my heart sing.
I posted this post in February of 2014. Now here we are in 2020 and that sink still makes my heart sing. Also, it seems that a lot of you are looking for exactly how to go from two drains to one. My posts now include a lot more info and step by step photos. I apologize that back then I used a cell phone camera (cringe) and no technical details whatsoever.
We all learn over time right?
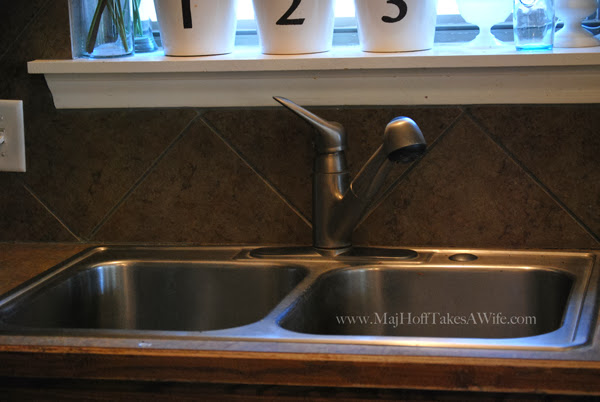
So hopefully you saw my post about my new awesome Moen Faucet. This is sort of a 2 step project. The first part was getting the faucet into the sink basin. The second part is getting the new sink basin in. That proved to be harder than expected.
First, We had to pop out the old ugly sink.
This was the part that sucked the most. You are underneath the sink unscrewing clips that hold the sink in (this is not comfortable for any human being. Bring a pillow for your back!). You also have to disconnect the pipes. We had a 2 drain system (one being a garbage disposal).
We untwisted the garbage disposal first and then disconnected the second drain & the water lines from the faucet (all power and water was off for this one!). Once we were totally disconnected, we removed the sink. It came up easier than I thought. My husband kind of bumped it up from down below and with a nice big pull the hideous sink was history!
We were replacing it with an awesome white sink basin that I found sitting on a shelf at my Habitat for Restore Store. It had been a display at Lowes previously and I got it for a steal!
New Single Basin Sink Install
To set the sink in place, we used a bead of construction adhesive along the lip of the sink that would fit against the countertops. We placed the sink in exactly where we wanted it and waited a few hours for it to dry and hold. We also took that time to connect the water hoses from the faucet underneath the sink.
After that was over, we began our joyful experience with plumbing (insert sarcasm here). We were going from a 2 drain set up that looked like this:
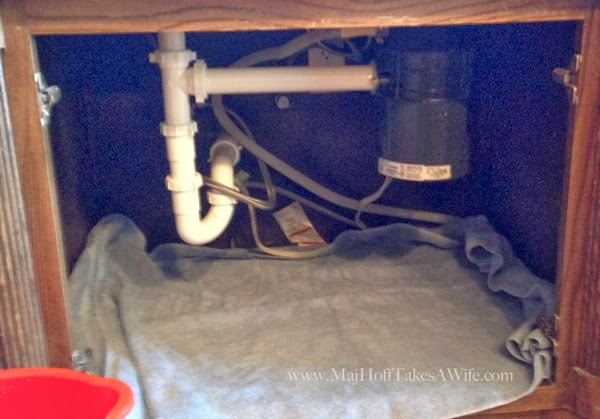
And we were trying to make it a single basin (with the drain connected to the garbage disposal).
After we disconnected the sink drains we were left with this:
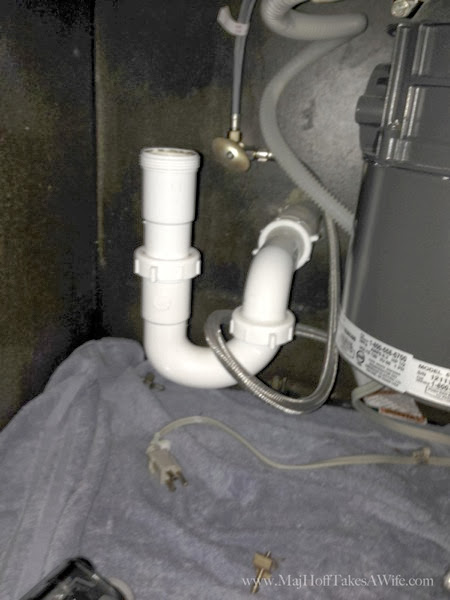
The original part that the disposal twists into is actually still in our old sink. We replaced the disposal but not the sink connection part earlier in the year. The sink drain/disposal parts were still in a bag in our garage and so my dad was nice enough to add that to the sink before he left our house to go back home.
Because the single drain is in the middle of the new sink, our garbage disposal moved over and the line that went horizontally from it was too long. So off to Lowes we went to find the pieces that would fit the leftover plumbing pieces like a puzzle. A very hard puzzle. I thought my child might be better at this than I was, so he tagged along.
These were some pictures that I texted to my husband at some point during my 4 trips to Lowes in 1 day adventure:
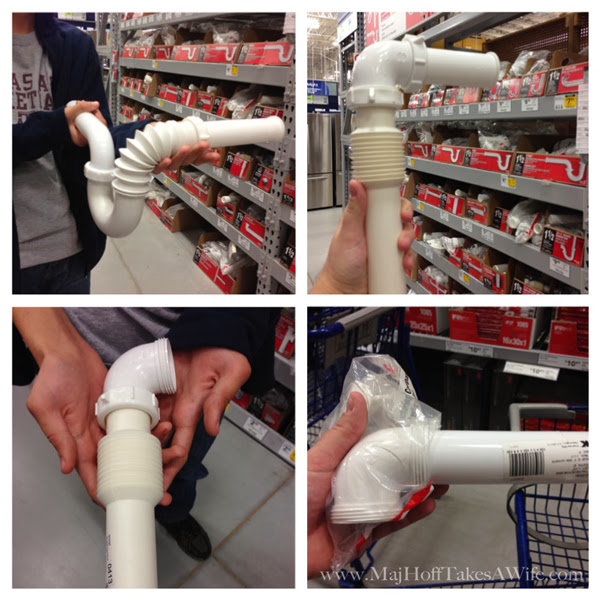
We discovered several things. Like the pipe that connected to the disposal had a funny little lip that we needed (not threaded).
At this point, my Dad the handyman is gone. I'm texting pictures, but it's getting really complicated. I would get home and pieces wouldn't fit, or the seal wasn't good enough, or we'd have to cut the larger pieces with the miter saw. Panic is setting in, because 4 boys with no working sink is not a situation I want for an extended amount of time.
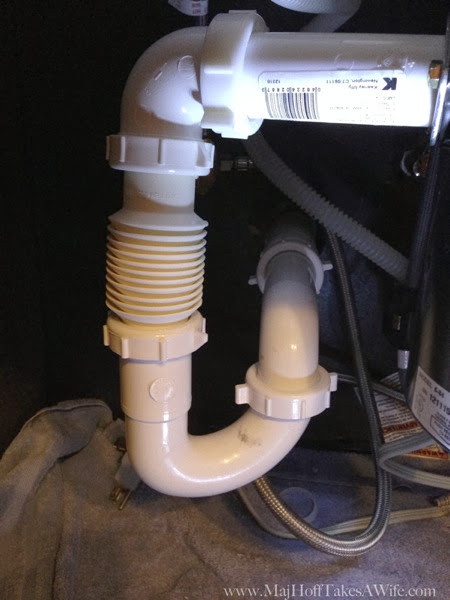
At 9:30 at night, we finally got a set up that worked, but it would drip a few drops now and then. I knew the specific piece we needed, but Lowes was out of stock, so we made do for about 5 days with this not-quite-ideal set up. A sort of working sink was better than the alternative at this point.
We kept a bucket underneath it, along with towels. But at least everything "worked" and I wasn't without a sink for those 5 days.
Here is the temporary set up that I would NOT recommend:
Finally we hit the jackpot and Lowes got the part we needed in. And then it was like magic. If we would have had this part from the beginning, I would have said replacing the sink was easy peasy! I've discovered that like a lot of things in life, magic doesn't always instantly happen.
Here is the magic set up!
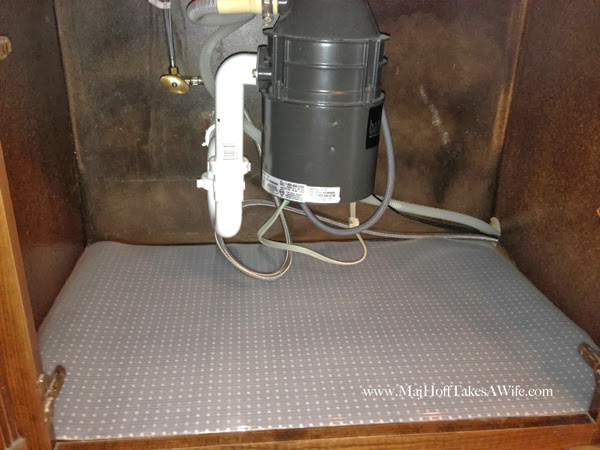
What I love the most about going to the single drain is that I have soooooo much more room under my cabinet now. Before, the plumbing and the disposal took up a lot of the cabinet space. They were each in a bad spot, and not close to one another. Look at the size difference on each side now— all my tall bottles fit!
Not only that, but washing large dishes in a single basin sink is a dream. My cookies sheet fit, I don't have to angle them to wash them. Same for casserole dishes and oversized saucepans.
BEFORE & AFTER
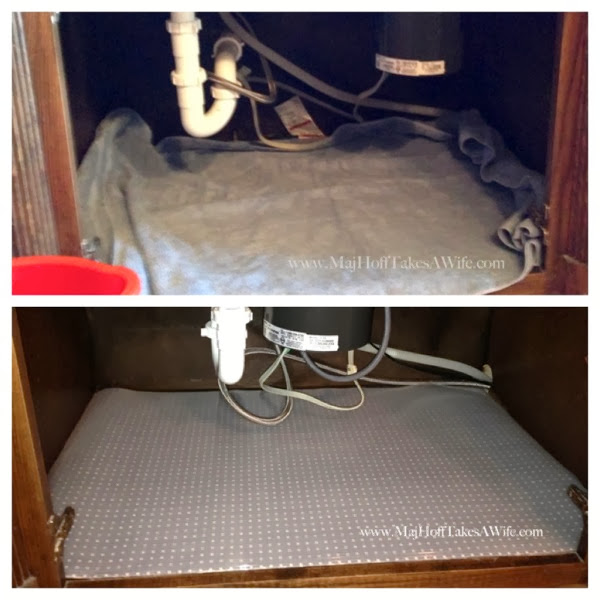
I went ahead and put down a really nice heavy duty shelf liner that was clear, but I didn't like the way it looked, cause it was kinda plain, so I put some pretty wrapping paper cut to size down first, and then topped with the clear shelf liner. I did the same set up when I organized my kitchen sink drawer.
One of the last steps is to caulk the sides of the sink. I watched a few youtube videos and since I've used caulk on other projects I thought I'd be good to go. Not so fast!
We purchased silicone caulk, because it was the best for waterproofing. What I didn't know is that the regular caulk is pretty forgiving and will wipe off fairly easily. Silicone, not so much. After a frantic google search I discovered that rubbing alcohol works well.
WHEW! Lifesaver! So now the sink is in and we are happy. Here are some pictures of my new favorite part of my house:
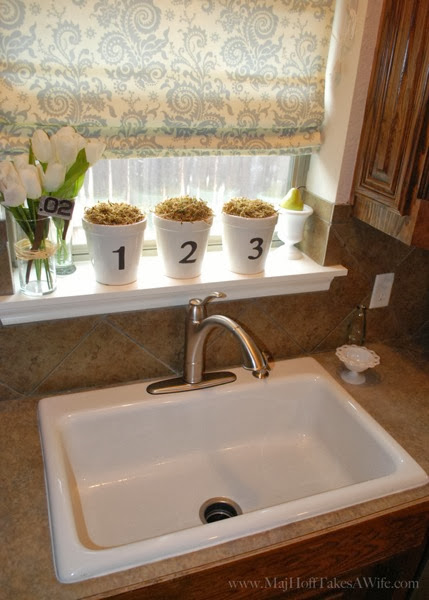
I am love with the single basin. Since we are a large family, I tend to cook with bigger pots and pans. They all magically fit in here! It's just perfect for washing cookie sheets, or piling about 8 cereal bowls in at one time (not that dirty dishes will ever sit in my sink now!). Six years later, the sink is still going strong. I use Mrs Meyer's baking soda to clean it.
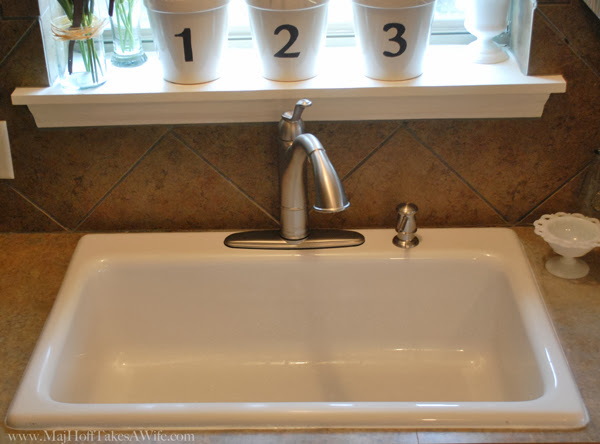
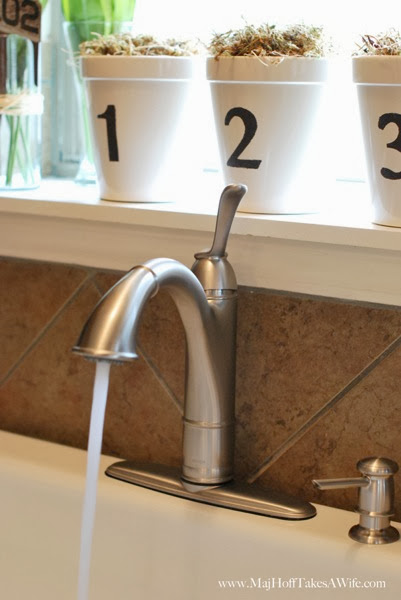
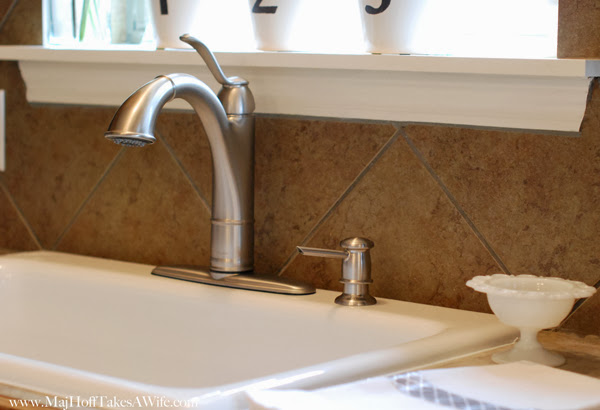
The Walden faucet adds the classic touch, and goes with the vintage/farmhouse look that I love so much. The secret MVP turned out to be the side soap dispenser. I use it way more than I thought I would.
When my hands are dirty, I use my forearm to press it down to dispense the soap. That way my germ filled hands don't touch it. Much easier than trying to figure out what to do with a whole big bottle of dish soap and messy hands.
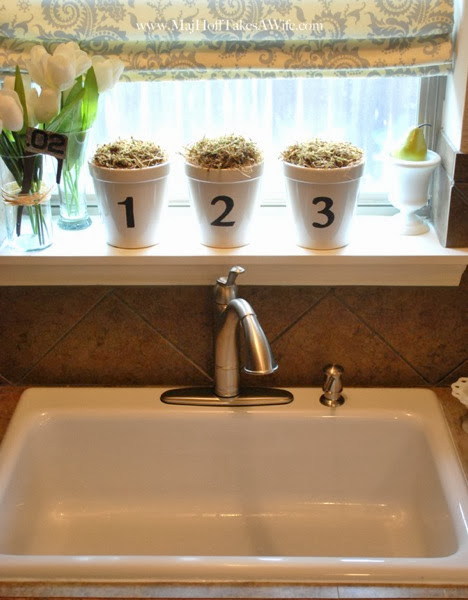
The only downside of having a single basin is having to use the countertop as a drying space. We've gotten used to that though, and I only lost about 12 inches. Being able to wash larger dishes so easily makes up for it in my mind.
Before:
After:
So what do you think? I wasn't intimidated by the faucet, but I was with replacing the sink, unhooking the disposal and replumbing the lines. In the end they weren't that bad at all.
I did need hubs for the heavy lifting part. I'm so glad we did this little reno. We estimated it would take a couple of hours, and really……..if we had every single piece, it probably would have. That said, we didn't. So it took closer to a week. Isn't that how most DIY projects go anyways? Six years later, that tiny amount of time pales in such comparison with how happy we are to have done this project.
The number 1 question I get about this project is which piece was the magic piece. At Lowes it is Item # 47394 Model # 85580K, or Keeney 1-½ inch plastic disposal elbow.
Thanks for taking the time to read my installation story, hopefully it will help you! Be sure and stop by and visit some other popular DIY posts, like our DIY garage door makeover or how to DIY a table over a washer and dryer. Of course there are also lots of recipes and travel ideas on my site as well!
You have Successfully Subscribed!
howellloosearrose.blogspot.com
Source: https://www.majhofftakesawife.com/new-single-basin-sink-install-downsizing-double-sink-drains-down-to-one/
0 Response to "Is It Easy to Change a Double Drain Sink to a Single Drain Kitchen Sink"
Post a Comment